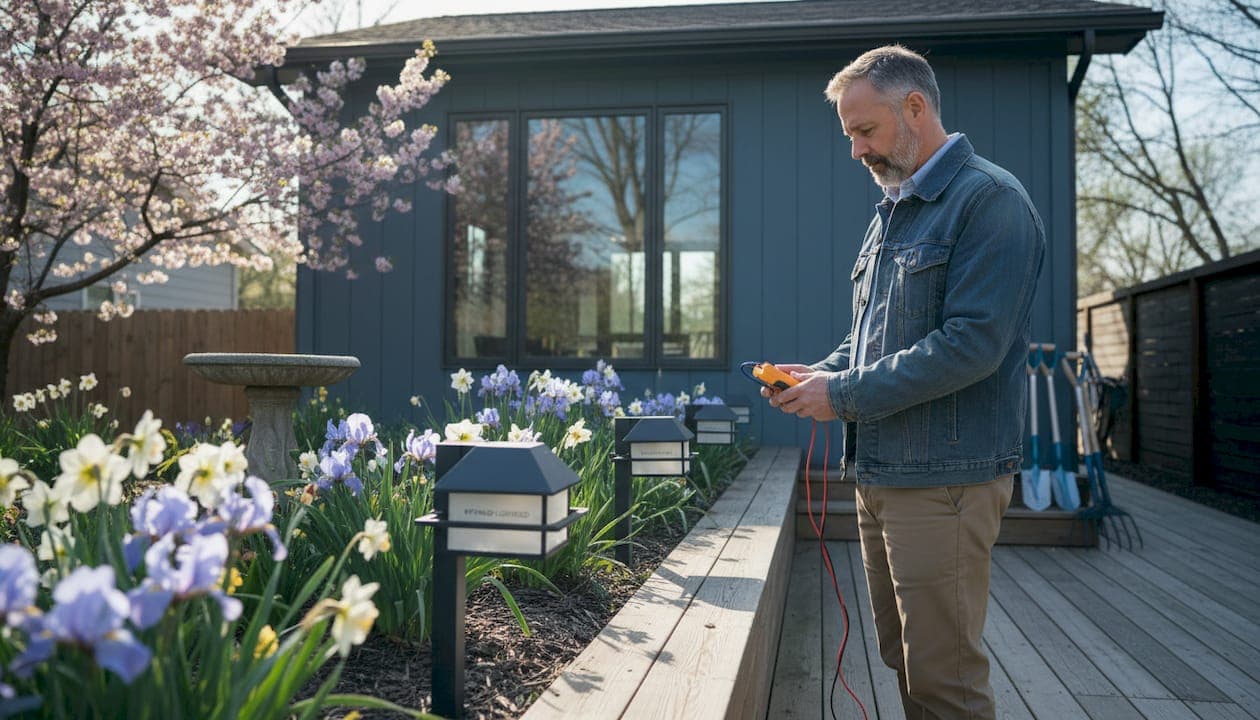
Spring arrives in Pittsburgh and you head outside expecting your landscape and deck lights to fire right up, only to find half the system dead or flickering like it's about to give out entirely. That sinking feeling is incredibly common here. Pittsburgh winters are hard on outdoor lighting, and post-winter failures from moisture intrusion, corroded connections, and shifting underground cables can leave your home looking dark and uninviting at exactly the wrong time of year. This guide walks you through every step of diagnosing and fixing the problem so you can get your system back up, running, and looking great.
Table of Contents
- Understanding common outdoor lighting problems in Pittsburgh
- What you need before starting: Tools and safety essentials
- Step-by-step outdoor lighting troubleshooting process
- Verifying results and preventing future issues
- Why Pittsburgh homeowners struggle and what most guides miss
- Transform your Pittsburgh home with expert outdoor lighting solutions
- Frequently asked questions
Key Takeaways
| Point | Details |
|---|---|
| Pittsburgh climate impact | Freeze-thaw cycles and moisture are the main causes of outdoor lighting failures in the region. |
| Safety is critical | Always wear protective gear and turn off power before troubleshooting or repairs. |
| Stepwise troubleshooting works | Systematically testing outlets, connections, and cables leads to effective repairs. |
| Routine checks prevent issues | Inspect lighting every spring and fall to catch problems early and extend system life. |
Understanding common outdoor lighting problems in Pittsburgh
To start, let's break down why Pittsburgh homeowners see outdoor lighting struggles as soon as things thaw out each spring.
Pittsburgh's climate is genuinely punishing for outdoor electrical systems. The city averages around 40 freeze-thaw cycles per year, meaning the ground around your buried cables swells and contracts repeatedly throughout late fall and winter. That movement doesn't just jostle connections. It cracks conduit, shifts wire connectors apart, and forces moisture into places it absolutely should not be. By the time March rolls around, your lighting system has quietly been taking a beating for months.
The most common symptoms homeowners notice after winter include:
- Entire circuits that won't turn on at all
- Individual fixtures that flicker or buzz when energized
- Lights that work some nights but go dark without warning
- Visible rust or green corrosion at connection points
- Cracked or discolored lens covers on path lights and spotlights
- Water pooling inside fixture housings
These issues are not random bad luck. Post-winter failures are consistently caused by moisture intrusion into fixture bodies, corroded wire connections at junction points, tripped GFCI outlets, and physical damage to underground cables from freeze-thaw movement. Understanding which symptom points to which cause is the first step toward an efficient fix.
One important thing to watch for is the pattern of failure. If an entire zone goes dark, your most likely culprits are a tripped GFCI outlet, a damaged cable feeding that zone, or a failed transformer circuit. If only individual fixtures fail while others nearby stay lit, corroded connections at the fixture itself or a burned-out bulb are usually to blame. Avoid the common lighting mistakes that homeowners make by jumping straight to bulb replacement before checking these more fundamental causes first.
What you need before starting: Tools and safety essentials
Before you begin any repairs, make sure you're fully prepared with the right tools and protection.
Working with outdoor electrical systems after a wet winter requires more caution than most people expect. Moisture inside fixtures and corroded connections create genuine safety hazards including electric shock and total system failure if you proceed without taking the right precautions. Never assume a circuit is de-energized just because the lights aren't visibly on.
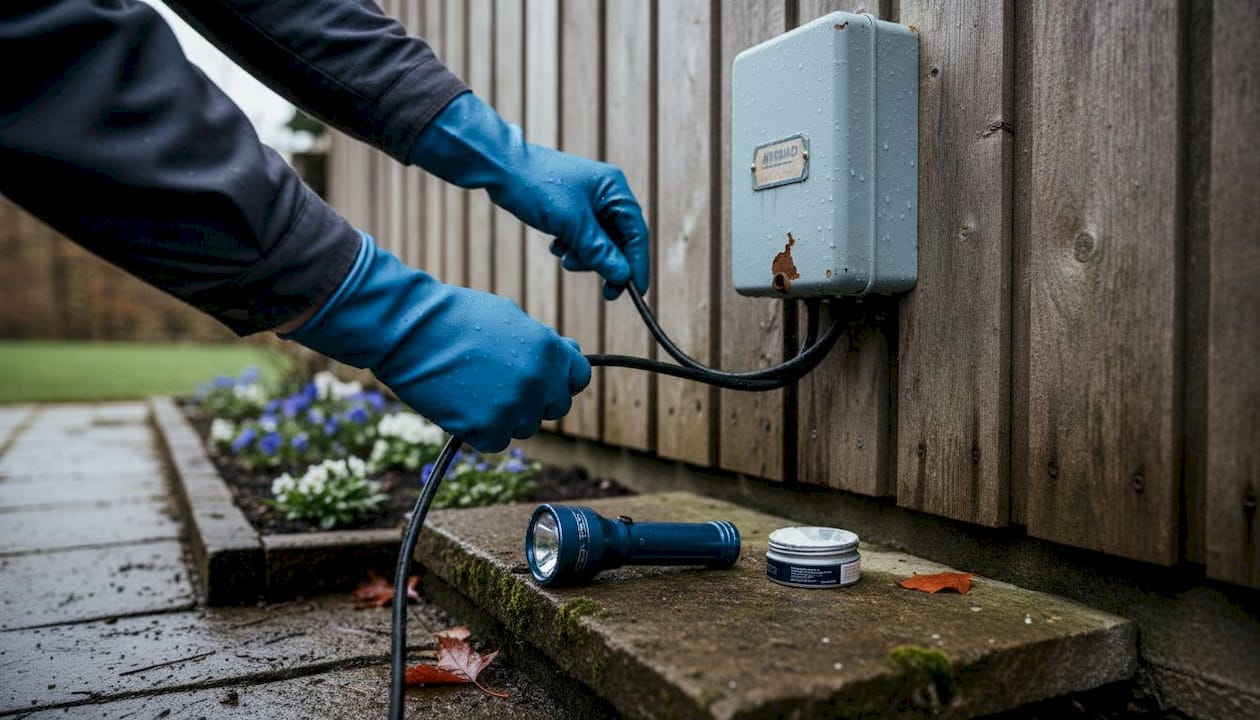
Here's a quick reference table for everything you'll need before starting:
| Category | Item | Purpose |
|---|---|---|
| Safety gear | Insulated rubber gloves | Protect against shock from wet or corroded circuits |
| Safety gear | Safety glasses | Shield eyes from corroded debris or wire sparks |
| Diagnostics | Non-contact voltage tester | Confirm circuits are de-energized before touching wires |
| Diagnostics | Multimeter | Measure voltage, continuity, and resistance in cables |
| Repair tools | Wire stripper and crimper | Prepare and secure wire splices |
| Repair tools | Waterproof wire connectors | Create sealed, moisture-resistant connections |
| Repair tools | Flathead and Phillips screwdrivers | Open fixture housings and junction boxes |
| Weatherproofing | Dielectric grease | Prevent corrosion at connection points |
| Weatherproofing | Self-fusing silicone tape | Seal splices and fixture entry points from moisture |
Pro Tip: Pick up a few extra waterproof wire connectors and a small tube of dielectric grease before you start. You will almost certainly find more corroded connections than you expect, and stopping mid-job to run to the hardware store wastes valuable time.
The quality of your outdoor fixtures also affects how much moisture damage you'll encounter. Fixtures made with die-cast aluminum or high-grade brass housings resist corrosion far better than plastic units, meaning less repair work each spring. If you're replacing any damaged fixtures during this process, it's worth investing in higher-quality hardware.
Safety comes first in every step. Turn off all relevant breakers before opening any junction boxes or handling wire connections. Use your voltage tester at every terminal before you touch anything, even after confirming the breaker is off. Outdoor circuits can carry surprising energy from secondary sources.
Step-by-step outdoor lighting troubleshooting process
With your tools and safety gear ready, let's walk through the practical steps to pinpoint and fix typical outdoor lighting problems.
Work through this process in order. Skipping steps leads to misdiagnosis and wasted effort, which is especially frustrating when a simple GFCI reset would have solved the problem in 30 seconds.
-
Check the transformer or control panel first. Walk to your lighting transformer or panel and verify it has power. Check the display for error codes and confirm any built-in timers or photocells are set correctly. A transformer that lost its programmed schedule over a power outage will simply not activate your lights.
-
Locate and test all GFCI outlets. Tripped GFCI outlets are one of the most common causes of intermittent post-winter failures, because underground cable movement stresses connections and can trip the safety mechanism. Press the "Test" button first to confirm it's functioning, then press "Reset." If it trips again immediately, you have a fault downstream that needs investigation.
-
Inspect your electrical panel. Look for tripped breakers connected to your outdoor lighting circuits. A breaker that sits halfway between ON and OFF needs to be pushed fully to OFF and then back to ON to reset properly.
-
Walk each circuit and inspect visible fixtures. Open fixture housings and look for standing water, rust, or white mineral deposits from moisture evaporation. Any of these signs confirm moisture intrusion. Dry out the housing completely before continuing, and replace any fixtures where the seal has cracked or the housing itself shows physical damage.
-
Test connections at each fixture and junction box. Using your multimeter, check for continuity in the cables feeding each zone. Corroded or loose connections are easy to spot visually, appearing as green or black discoloration on copper wire. Cut back the damaged wire segment, re-strip cleanly, and reconnect using waterproof connectors with a dab of dielectric grease on each terminal.
-
Check underground cable segments. If a full zone fails and the GFCI is fine, use your multimeter to test cable continuity between the transformer output and each fixture junction. A sudden break in continuity points to cable damage underground. Review the troubleshooting lighting controls guide for additional help isolating which zone or circuit is affected before you start digging.
Here's a quick comparison to help you decide when to DIY and when to call a professional:
| Situation | DIY appropriate? | Recommended action |
|---|---|---|
| Tripped GFCI or breaker | Yes | Reset and monitor |
| Burned-out bulb | Yes | Replace and test |
| Corroded wire connection | Yes, if minor | Clean, reconnect, seal |
| Moisture inside fixture housing | Yes | Dry out, re-seal, replace if damaged |
| Broken underground cable | Depends | DIY for accessible runs; professional for deep or extensive damage |
| Transformer failure | No | Contact a qualified professional |
| Multiple failed circuits | No | Full professional inspection recommended |
Knowing when to stop is just as important as knowing how to start. If you open a junction box and find extensive corrosion, multiple damaged wire runs, or any sign of burning or melted insulation, stop immediately and contact a professional. Pushing through on electrical problems you aren't equipped to handle safely creates bigger and more expensive problems down the road.
Pro Tip: Keep a simple sketch or photo record of your lighting zones and cable routes. When you need to trace a fault next spring, that record saves hours of guesswork. Document the lighting install process details for your specific setup so any technician you call can get up to speed quickly.
Verifying results and preventing future issues
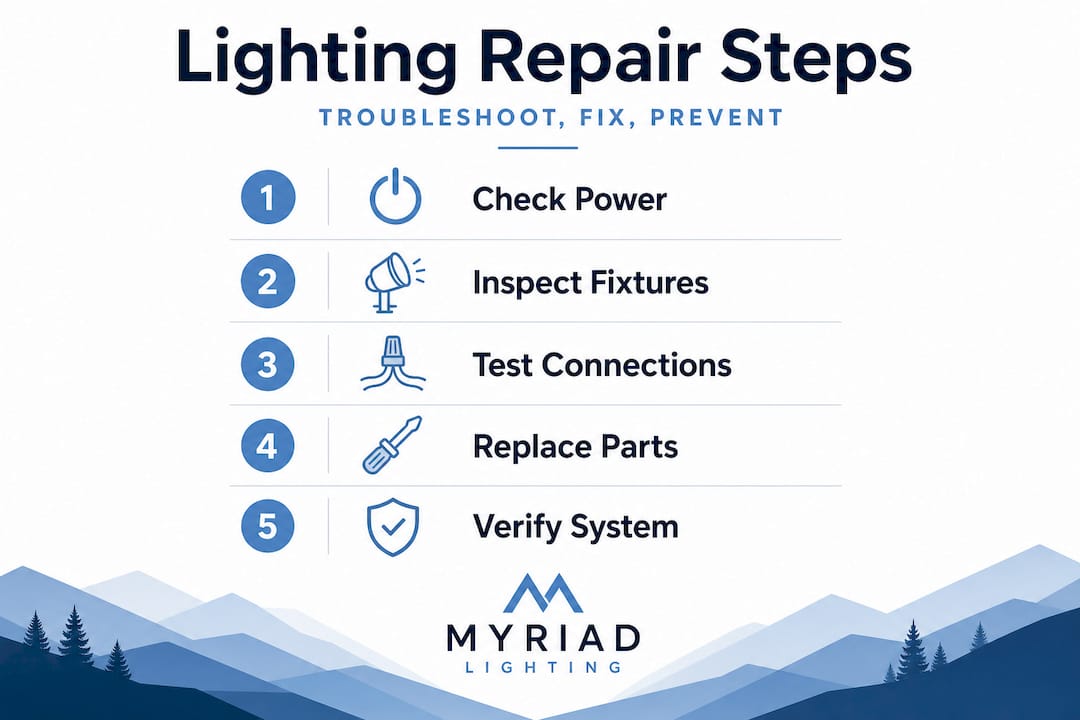
After following the troubleshooting steps, you'll want to confirm everything's working and keep it that way.
Once you've made all your repairs, do a full system test before calling the job done. Turn on every circuit and visually inspect each fixture, checking for proper illumination angle, brightness, and color consistency. Walk the perimeter of your yard after dark to identify any dark spots or fixtures pointing in the wrong direction after being jostled by winter ground movement.
Verification checklist after repairs:
- Confirm all fixtures illuminate fully without flickering
- Test GFCI outlets by cycling the Test and Reset buttons one final time
- Verify transformer schedule and photocell sensitivity are correctly configured
- Check all fixture housings are tightly closed and sealed
- Inspect wire entry points at each fixture for gaps that could allow future moisture entry
Freeze-thaw cycles loosen seals and expose vulnerabilities throughout the system every single winter, which is why addressing these points during spring checks prevents the same failures from happening again next year. The homeowners who skip the spring inspection are the ones calling for emergency repairs every April.
Prevention is worth far more than repair in Pittsburgh's climate. Here are the most effective long-term strategies:
- Apply fresh dielectric grease to all wire connections every spring
- Replace any rubber gaskets inside fixture housings that feel stiff or cracked
- Add a thin layer of self-fusing silicone tape over any exposed wire splices in underground runs
- Mark the locations of all buried cable runs with landscape flags each fall so you avoid cutting through them during landscaping work
- Set a reminder to run a quick system check every fall before the first freeze, and again every spring after the last thaw
Pro Tip: Consider upgrading to smart lighting controls that notify you when circuits fail or draw unexpected power loads. These systems can catch a developing fault before it becomes a full failure, saving you a lot of troubleshooting time in the spring.
Why Pittsburgh homeowners struggle and what most guides miss
Putting all the pieces together, here's what years of hands-on outdoor lighting work in Pittsburgh have taught us.
Most online troubleshooting guides treat outdoor lighting repair as a universal process. Swap the bulb, check the breaker, move on. That approach works fine in mild climates. It falls short in Pittsburgh because it completely ignores the cumulative and compounding nature of winter damage here.
Pittsburgh's freeze-thaw cycle doesn't just cause one problem at a time. It stresses every weak point in a system simultaneously. A connection that was 90% reliable in October might hold through November, slip to marginal performance by January, and fail completely by March. By the time a homeowner notices their lights are out, the system has typically been degrading for months. The visible failure is just the final step in a long chain of damage.
The other issue is underground cable vulnerability. Most homeowners picture their buried cables as protected once they're in the ground. In reality, soil movement during Pittsburgh winters is aggressive enough to physically pull cable connectors apart, create kinks that compromise insulation, and shift buried conduit so that surface water now drains directly toward a junction box. These problems are invisible from the surface, which is why so many homeowners replace bulbs and reset breakers repeatedly without ever finding the actual fault.
There's also the question of lighting aesthetics after repairs. Homeowners often restore power to their system and discover that winter movement has shifted fixtures off their intended angles, changing the entire mood and visual effect of the installation. A complete post-repair walkthrough after dark isn't optional. It's how you confirm you've actually restored the system, not just turned it back on.
The honest advice most guides won't give you is this: if your system is more than seven or eight years old and you're finding widespread corrosion, repeated cable faults, or cracked fixture housings, targeted repairs are probably costing you more over time than a planned upgrade. A single professional inspection can tell you clearly whether you're maintaining a healthy system or chasing failure in an aging one.
Transform your Pittsburgh home with expert outdoor lighting solutions
If you encounter bigger problems or want to upgrade, expert help is within reach.

At Myriad Lighting, we've worked with Pittsburgh homeowners on everything from single-fixture repairs to complete post-winter system rebuilds. Our team understands exactly how local winters stress outdoor lighting systems, and we approach every project with both the technical knowledge and the design sensibility to get your property looking its absolute best. Whether you're looking to restore your existing landscape lighting system or add stunning holiday lighting for the seasons ahead, we handle the entire process from consultation through final setup. Schedule a consultation with us and let's get your Pittsburgh home shining the way it deserves.
Frequently asked questions
Why do my outdoor lights stop working after a Pittsburgh winter?
Freeze-thaw cycles, moisture intrusion, and underground cable movement put stress on every component in your outdoor lighting system throughout winter, and failures often become visible as soon as you try to use the system in spring. Addressing these specific vulnerabilities, rather than just replacing bulbs, is the key to a real fix.
Is it safe to repair outdoor lighting myself after moisture damage?
With proper insulated gloves, a voltage tester, and a clear process, many repairs are safe to tackle yourself. However, corroded wire connections and signs of burning or melted insulation are strong signals to stop and call a qualified professional rather than proceed.
How can I prevent future outdoor lighting failures in Pittsburgh?
Applying dielectric grease to connections, replacing cracked fixture gaskets, and conducting a quick system check every spring and fall catches developing problems before they become full failures, and is the single most effective maintenance habit Pittsburgh homeowners can build.
What should I do if resetting the GFCI doesn't restore power to my lights?
If GFCI reset fails to restore your system, the next step is testing your underground cables for continuity using a multimeter, since tripped outlets and cable movement often go together after a hard winter. If you find broken continuity or can't isolate the fault, a qualified outdoor lighting professional can trace and repair the damage efficiently.