Outdoor lighting should make your Pittsburgh home look polished and feel safe after dark. Instead, many homeowners end up with glaring fixtures, dark corners, and electric bills that don't match the results. Small errors in placement, brightness, and upkeep quietly undermine everything you're trying to achieve. The good news is that most of these problems are completely avoidable. In this guide, we walk through the four most common outdoor lighting mistakes, explain exactly why they happen, and give you practical strategies to fix them before you spend another dollar on fixtures that disappoint.
Table of Contents
- Mistake #1: Poor fixture placement
- Mistake #2: Overlighting and underlighting
- Mistake #3: Ignoring maintenance and controls
- Mistake #4: Skipping professional help for complex layouts
- Why most outdoor lighting advice misses Pittsburgh's unique needs
- Ready to upgrade your outdoor lighting?
- Frequently asked questions
Key Takeaways
| Point | Details |
|---|---|
| Check placement | Evenly staggered lighting fixtures create a safer, more inviting yard. |
| Balance brightness | Avoid both overly bright and dim spots for better safety and reduced energy costs. |
| Maintain regularly | A simple seasonal check keeps your yard lit reliably and saves money in the long run. |
| Hire pros for complex setups | Professional help ensures safety, code compliance, and lasting curb appeal. |
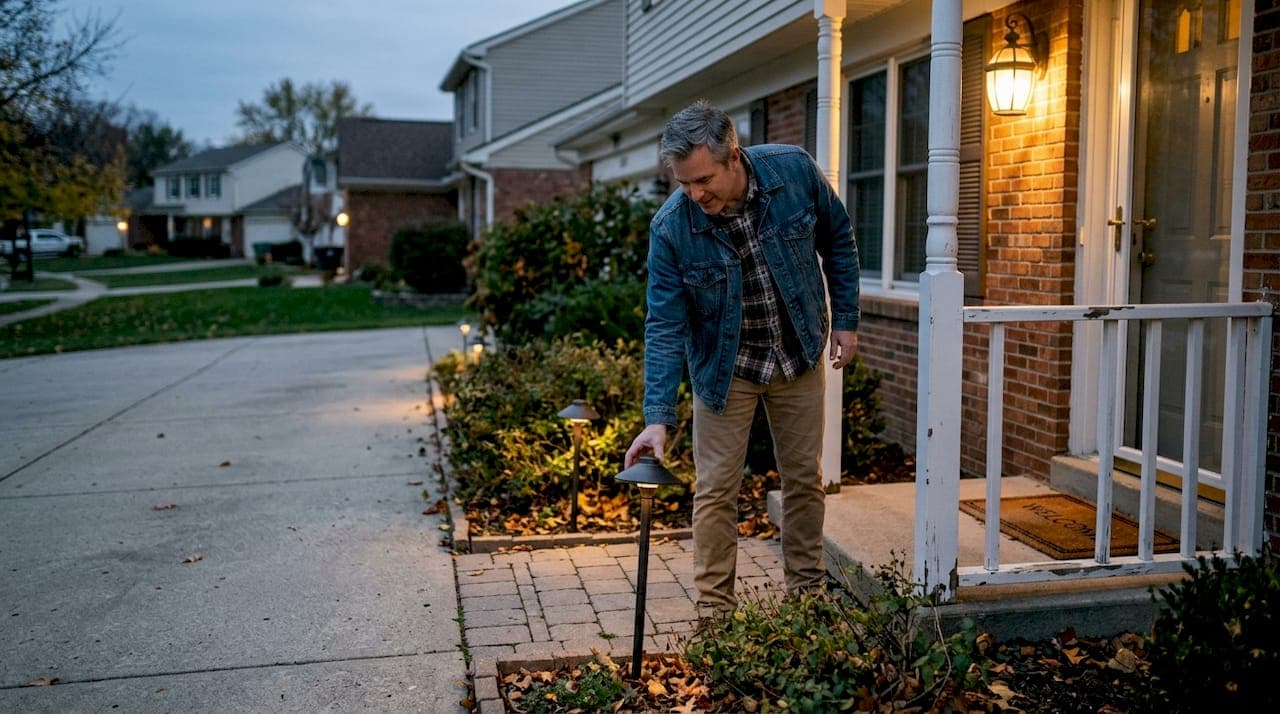
Mistake #1: Poor fixture placement
With the basics set, let's focus first on where homeowners most often go wrong: fixture placement. It's the single biggest factor in whether your outdoor lighting looks professional or patchy, and it's also the easiest mistake to make.
Most homeowners instinctively line up path lights in a perfectly straight row, evenly spaced like soldiers. It feels logical, but it actually creates a runway effect that looks flat and washes out the natural curves of your yard. Poor fixture placement causes glare, shadows, dark spots, and ineffective lighting, and path lights should be staggered on alternating sides of a walkway, spaced 6 to 8 feet apart, for smooth and even coverage.
Here's what good placement actually looks like in practice:
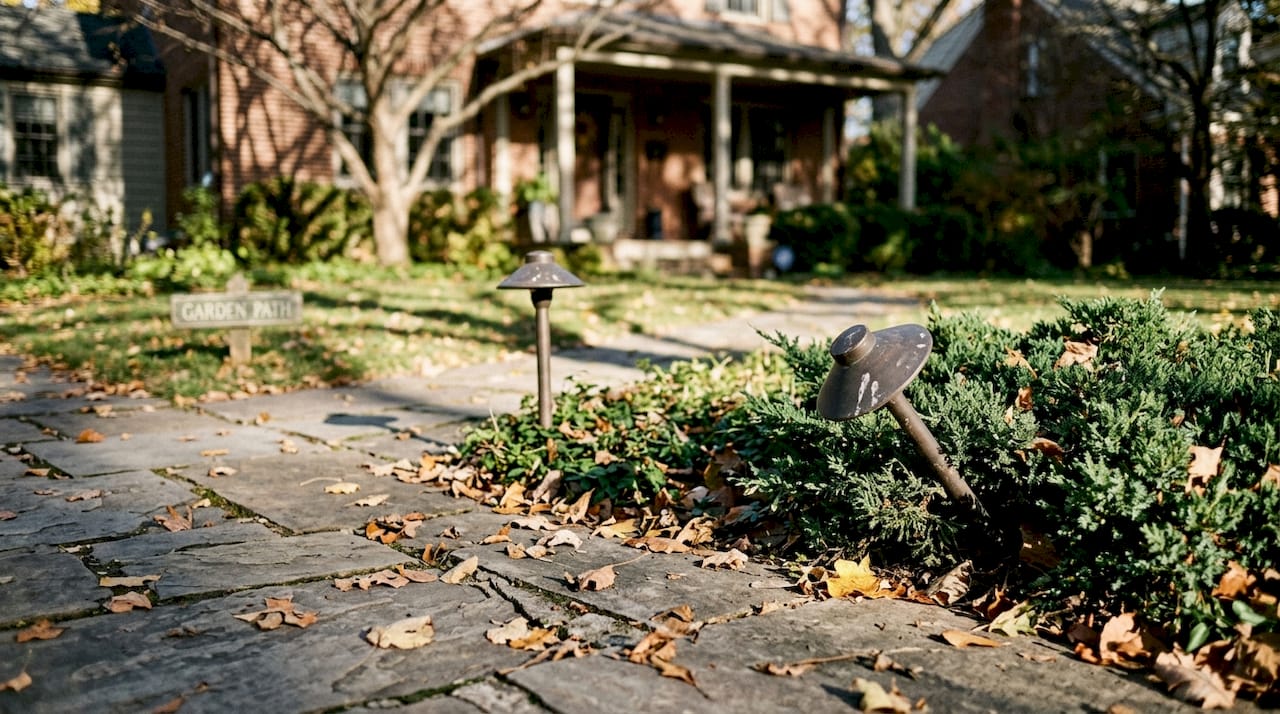
- Stagger path lights on opposite sides of the walkway, not directly across from each other
- Space fixtures 6 to 8 feet apart to avoid overlapping pools of light
- Angle uplights slightly away from the house to reduce glare on windows
- Place step lights low and flush so they illuminate the tread without blinding anyone walking up
- Use corner fixtures to eliminate blind spots near driveways and gates
Pittsburgh yards add a layer of complexity that flat-terrain guides don't address. Hilly lots, stone retaining walls, and mature trees create shadows that shift dramatically with the seasons. A fixture that works perfectly in August may cast a deep shadow in November once the leaves drop. That's why testing your layout before you commit is so important.
Pro Tip: Before finalizing any fixture placement, run temporary clip lights or even flashlights at the planned positions and walk your yard after dark. You'll immediately spot glare problems and dark zones that a daytime walkthrough would never reveal.
"The most common placement error is treating outdoor lighting like interior lighting, where symmetry rules. Outside, your goal is to follow the natural flow of the landscape, not impose a grid on it."
For more ideas on how placement affects your home's overall look from the street, explore these curb appeal lighting tips that cover architectural accents and facade lighting in detail. If you want to see the full range of styles available, browsing landscape lighting options can help you match fixtures to your yard's specific needs.
Mistake #2: Overlighting and underlighting
Proper placement matters, but the next step is all about how much light to use and where. Getting brightness wrong is one of the most expensive mistakes you can make, because it affects safety, energy costs, and how your home looks to everyone on the street.
Overlighting is more common than people realize. Homeowners assume brighter equals safer, so they install high-wattage floodlights across the entire yard. The result is harsh glare that actually reduces visibility by creating extreme contrast between bright zones and pitch-black areas. Overlighting or underlighting causes real problems: too much light creates glare and light pollution, while too little leaves unsafe dark zones. A layered approach, where each fixture has a specific purpose, is far more effective.
Here's a simple reference for recommended brightness by location:
| Location | Recommended lumens |
|---|---|
| Pathways and walkways | 100 to 200 lumens |
| Accent and landscape features | 50 to 300 lumens |
| Entry doors and porches | 400 to 500 lumens |
| Driveways | 300 to 400 lumens |
| Security floodlights | 700 to 1300 lumens |
Pittsburgh has become increasingly focused on light pollution reduction, which means choosing the right brightness isn't just about aesthetics. It's about being a responsible neighbor and staying ahead of potential local ordinance changes.
Here are the key visual checks to spot over or underlighting at your own property:
- Squint test: If you squint and the fixtures look like car headlights, they're too bright
- Shadow check: Walk the perimeter after dark and note any zones where you can't clearly see the ground
- Neighbor view: Stand at the street and look back. Fixtures should highlight your home, not blind passersby
- Color temperature: Warm white (2700K to 3000K) feels inviting; cool white above 4000K often feels harsh and industrial
To balance brightness effectively, think in layers: ambient lighting for general visibility, accent lighting for beauty, and task lighting for safety at specific spots. You can also avoid excessive illumination by choosing dimmable LED fixtures that let you fine-tune output after installation.
Mistake #3: Ignoring maintenance and controls
Even a perfect lighting plan can fall apart without regular upkeep. Outdoor fixtures deal with rain, ice, pollen, insects, and UV exposure year-round. Without attention, even quality fixtures dim, corrode, or fail faster than they should.
Leaving lights on constantly or neglecting maintenance leads to high electric bills, unnecessary light pollution, and damage from the elements that shortens fixture life significantly. The fix is simpler than most homeowners expect.
Here's a quick seasonal checkup routine you can follow:
- Clean lenses and covers with a soft cloth and mild soap to remove dirt, pollen, and oxidation
- Check all wire connections for corrosion or looseness, especially after a wet Pittsburgh winter
- Test every fixture by switching the system on at dusk and walking the full perimeter
- Replace burned-out bulbs immediately to avoid putting extra load on neighboring fixtures
- Adjust fixture angles that may have shifted due to ground movement or landscaping changes
- Inspect timer and photocell settings to make sure they still match current sunrise and sunset times
Timers and photocells are two of the simplest upgrades you can make. A photocell automatically turns lights on at dusk and off at dawn, so you never waste energy during daylight hours. A programmable timer lets you set specific on and off windows, which is useful for security lighting that you only want active during certain hours.
Stat to know: Homes that use automated lighting controls use up to 30% less energy on outdoor lighting compared to systems left on manual settings.
Pro Tip: Set a recurring smartphone reminder twice a year, once in spring and once in fall, to run through your maintenance checklist. Pairing it with daylight saving time changes makes it easy to remember.
For homeowners thinking about a full refresh, exploring lighting system upgrades can show you what modern, low-maintenance options look like and how they compare to older setups.
Mistake #4: Skipping professional help for complex layouts
Finally, let's tackle a decision every homeowner faces: doing it yourself or hiring an expert. For simple setups like a few solar stake lights along a garden border, DIY is perfectly reasonable. But for anything involving wiring, voltage balancing, or a multi-zone design, going it alone creates real risks.
DIY outdoor lighting risks safety issues and poor results. Professionals handle voltage balancing and code compliance, while simple solar setups can work for small spaces but deliver inconsistent performance.
Here's a side-by-side look at the two approaches:
| Factor | DIY installation | Professional installation |
|---|---|---|
| Upfront cost | Lower | Higher |
| Long-term reliability | Variable | High |
| Code compliance | Risk of errors | Guaranteed |
| Design quality | Limited by experience | Optimized for the space |
| Wiring safety | Potential hazards | Properly managed |
| Warranty coverage | Often voided | Maintained |
Projects that are best left to professionals include:
- Multi-zone low-voltage systems with transformers and multiple circuits
- In-ground or hardwired fixtures near water features or pools
- Roofline and architectural lighting where wiring must be hidden and weatherproofed
- Any project requiring a permit under local Pittsburgh building codes
- Layouts on steep or uneven terrain where grounding and drainage matter
Solar lights are worth mentioning separately. They're easy to install and require no wiring, which makes them appealing. But Pittsburgh's cloud cover, tree canopy, and shorter winter days mean solar panels often can't charge consistently enough to keep fixtures running reliably through the night. They work well as supplemental lighting in sunny spots, but they shouldn't be the backbone of your outdoor lighting plan.
For specific applications like motion-activated lighting solutions, a professional can integrate sensors seamlessly into your existing system without the trial-and-error that DIY installs often require.
Why most outdoor lighting advice misses Pittsburgh's unique needs
After exploring the biggest mistakes, let's look at what sets Pittsburgh apart and why typical guides fall short. Most national articles treat outdoor lighting as a universal problem with universal solutions. They're written for flat suburban lots in mild climates, and they ignore the specific challenges that Pittsburgh homeowners deal with every single season.
Pittsburgh's hilly terrain means that a fixture aimed correctly on flat ground will point in the wrong direction entirely on a slope. Stone retaining walls and brick facades reflect light differently than wood or vinyl siding, which changes how bright a space actually feels. And Pittsburgh winters are hard on fixtures, so material quality and weatherproofing matter more here than in warmer cities.
The city's growing attention to light pollution concerns also means that fixture choice carries more weight than a generic guide would suggest. Choosing shielded, downward-facing fixtures isn't just good practice here. It's increasingly expected. A copy-paste solution from a national blog rarely delivers both beauty and compliance in Pittsburgh's specific context.
Working with a local team that understands the terrain, the climate, and the community standards means your lighting plan will actually hold up over time. Explore landscape lighting for Pittsburgh to see how a locally tailored approach differs from generic installs.
Ready to upgrade your outdoor lighting?
Want to avoid mistakes and create a truly standout yard? Here's how we can help.

At Myriad Lighting, we design and install hardscape and landscape lighting that's built specifically for Pittsburgh homes. From the first consultation to the final walkthrough, our team handles placement, wiring, and controls so you get a system that looks great, runs efficiently, and lasts. We use energy-efficient LED fixtures with hidden wiring and minimal disruption to your yard. Whether you're starting from scratch or upgrading what you have, we make the process straightforward. Request a lighting quote today and see what a professionally designed system can do for your home's curb appeal and safety.
Frequently asked questions
What is the ideal spacing for outdoor path lights?
Path lights should be staggered 6 to 8 feet apart on alternating sides of a walkway for safe, even coverage without creating a runway effect.
How can I prevent outdoor glare and light pollution at home?
Use lower-lumen bulbs, choose shielded downward-facing fixtures, and follow a layered lighting approach that gives each fixture a specific purpose. Pittsburgh's light pollution awareness makes this especially relevant for local homeowners.
How often should I maintain my outdoor lighting fixtures?
You should clean and inspect fixtures one to two times per year, ideally in spring and fall, to catch corrosion, misalignment, and bulb failures before they become bigger problems.
Are solar outdoor lights a good choice for Pittsburgh homes?
Solar lights work well as supplemental lighting in sunny spots, but inconsistent solar performance due to Pittsburgh's cloud cover and tree canopy makes them unreliable as a primary lighting source.
Recommended
- Motion-activated outdoor lighting: homeowner's guide
- How to illuminate building exteriors for stunning curb appeal
- Holiday | Transform Your Holidays—Get Expert Lighting — Myriad Lighting
- Hardscape/Landscape | Transform Your Outdoors Today — Myriad Lighting
- Improve home safety with outdoor LED lighting Calgary 2026
- Avoid These Pressure Washing Mistakes: Safer, Cleaner Home – white-diamond-pressure