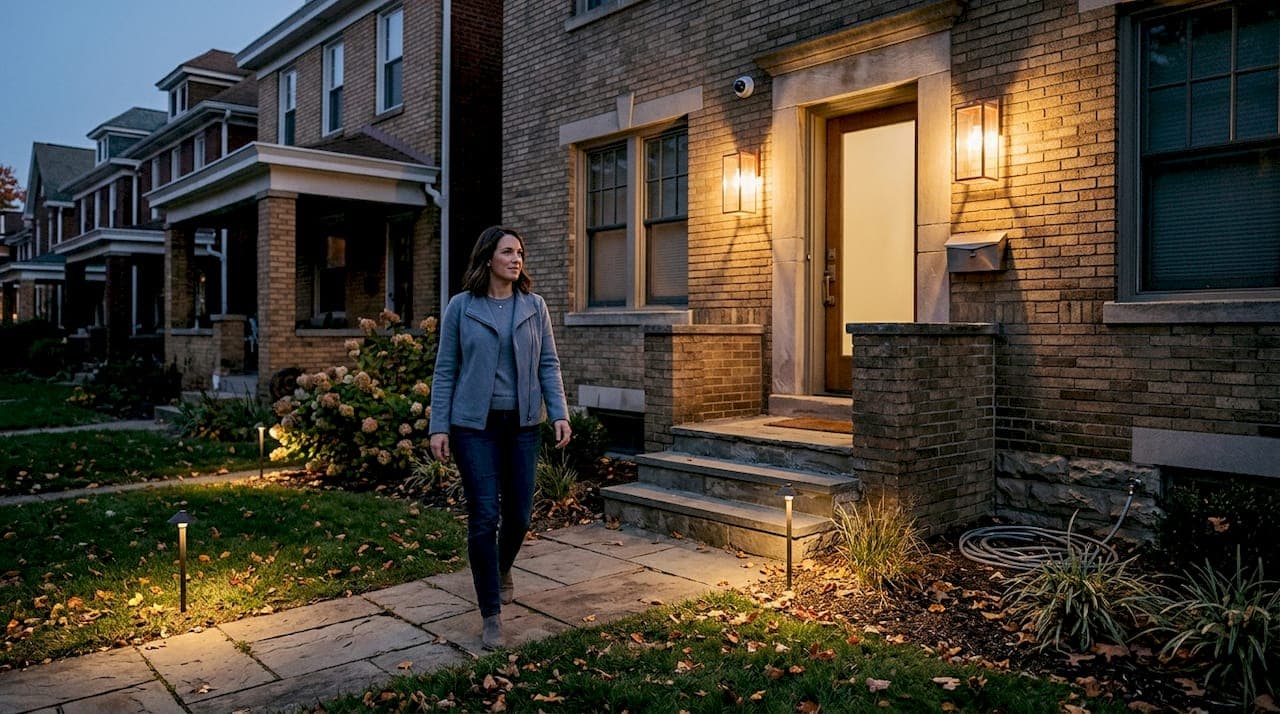
Most Pittsburgh homeowners spend more time choosing paint colors than planning their outdoor lighting, yet lighting has a far greater effect on how safe and attractive a home feels after dark. A fixture placed just two feet in the wrong direction can flood your eyes with glare instead of illuminating a front path. The color of the light alone can make a brick facade look warm and welcoming or cold and institutional. These are not luxury concerns reserved for high-end properties. They are practical decisions that affect every home, every night.
Table of Contents
- What does 'attention to lighting detail' mean?
- How lighting details shape safety and aesthetics
- Common mistakes when homeowners overlook lighting details
- How to put attention to lighting detail into practice
- Why most outdoor lighting falls short—and how you can do better
- Transform your home with detailed outdoor lighting solutions
- Frequently asked questions
Key Takeaways
| Point | Details |
|---|---|
| Details drive results | Small decisions in lighting setup have a major impact on both beauty and safety. |
| Follow expert benchmarks | Industry standards help ensure the right light levels and reduce mistakes. |
| Warm light improves vision | Using 2700–3000K fixtures reduces glare and enhances comfort at night. |
| Professional plans pay off | Experienced lighting designers optimize for both security and curb appeal by focusing on detail. |
What does 'attention to lighting detail' mean?
Attention to detail in outdoor lighting is not about adding more fixtures or making things brighter. It covers the full set of decisions that determine how light behaves on your property, including placement, intensity, color temperature, beam spread, and glare control. Each of these variables interacts with the others, meaning a poor choice in one area can undermine everything else.
Here is what the core details actually include:
- Placement: Where a fixture sits relative to a door, path, tree, or wall determines what gets lit and what falls into shadow.
- Illuminance: This is the amount of light hitting a surface, measured in foot-candles. Too little leaves areas dark. Too much creates discomfort.
- Color temperature (Kelvin): Measured in Kelvin (K), this determines whether light looks warm and amber or cool and blue-white. Warm light (2700K to 3000K) tends to flatter most home exteriors.
- Beam spread: A narrow beam concentrates light on a specific object, like a front door. A wide beam distributes light over a larger area, like a patio.
- Glare control: Unshielded fixtures that throw light in all directions cause glare, which actually reduces visibility and comfort.
Good lighting design features account for all of these at once, not just one or two. As the IES notes, lighting design benchmarks cover illuminance targets, uniformity, and distribution, meaning these are measurable, engineered decisions rather than guesses.
"The difference between a well-lit home and a poorly lit one is rarely the number of fixtures. It is almost always the quality of decisions made about placement, color, and control."
Getting these details right requires thinking about your home as a whole, not as a collection of individual spots that need a light. That shift in perspective is where professional outdoor lighting begins.
How lighting details shape safety and aesthetics
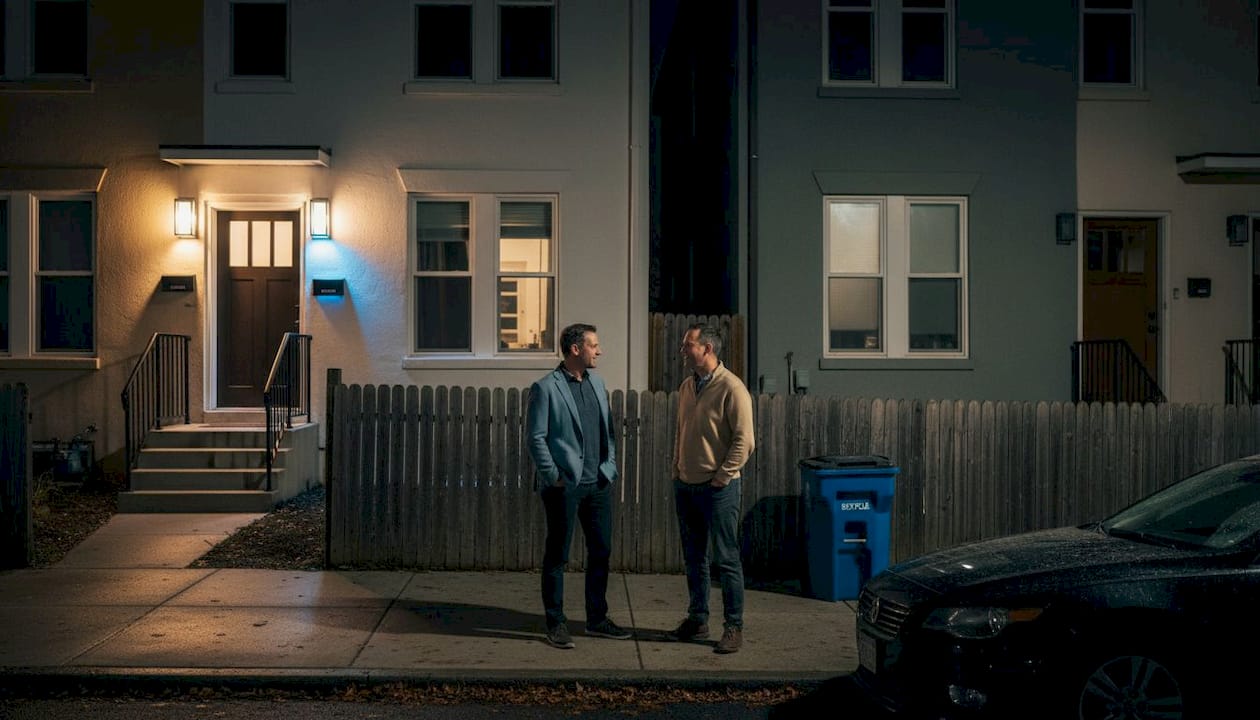
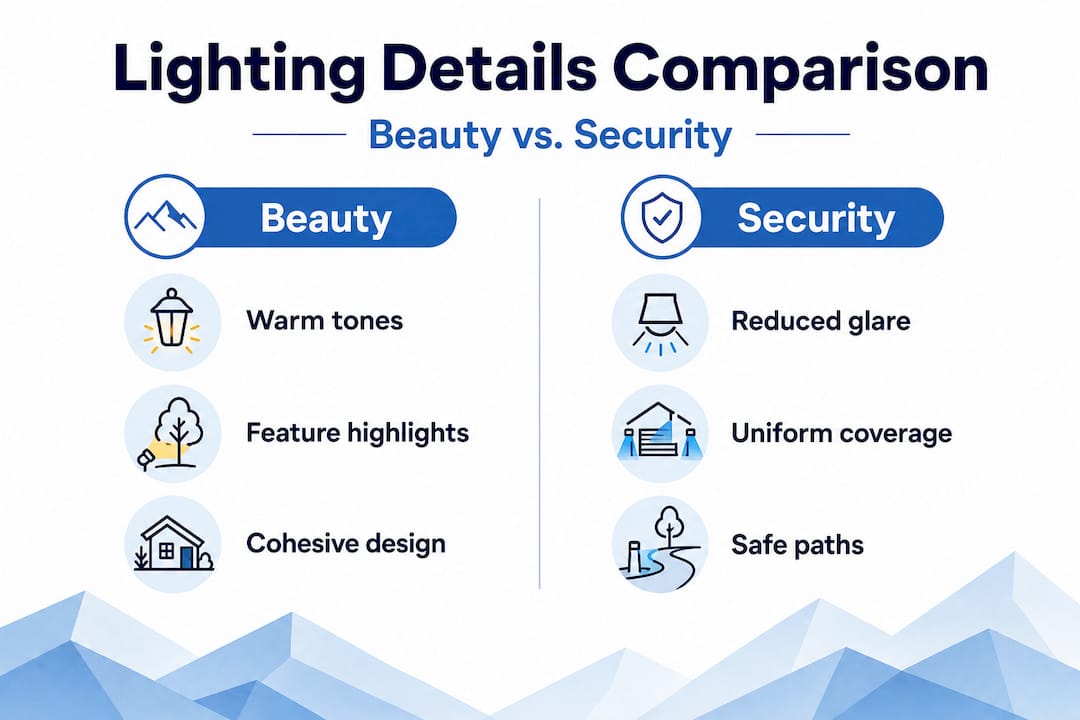
Here is a comparison that makes the point clearly. Two identical Pittsburgh row homes sit side by side. One has a generic coach lantern mounted at eye level beside the front door. The other has a shielded downlight aimed directly at the lock and threshold. When you walk up to the first house at night, the bulb shines directly into your eyes. You squint. You cannot clearly see the lock, the steps, or who is on the porch. The second home greets you with soft, even light. You can see everything without discomfort.
That difference is entirely about detail. The way that glare and color management influence nighttime vision is well documented, and it directly affects both how safe a property feels and how good it looks in photos or from the street.
Here is a side-by-side comparison of well-designed versus generic outdoor lighting:
| Feature | Generic lighting | Detail-driven lighting |
|---|---|---|
| Fixture placement | Eye level, unplanned | Aimed at key zones (lock, path, steps) |
| Color temperature | Varies, often 4000K+ | 2700–3000K warm white |
| Glare control | Unshielded, omnidirectional | Shielded, downward distribution |
| Beam spread | Fixed, wide | Selected per application |
| Night vision impact | Often impaired | Preserved |
| Curb appeal | Flat or harsh | Warm, layered, architectural |
To enhance safety and beauty at the same time, a few priorities stand out:
- Aim light toward functional areas first, including entry points, steps, and walkways.
- Use warm color temperatures to create a welcoming atmosphere while maintaining visibility.
- Shield all fixtures to prevent glare from diminishing what you are trying to illuminate.
- Layer light at different heights so shadows are minimized without making the space feel overexposed.
- Test the setup from the street and from the path to confirm both perspectives work.
Pro Tip: Walk your property at night before making any changes and photograph the dark spots and glare points. That record becomes your planning baseline and shows exactly where detail-driven changes will have the most impact.
The result of getting these details right is quality outdoor lighting that serves your home on multiple levels: it deters unwanted visitors, guides guests safely, and makes the property look intentional rather than afterthought.
Common mistakes when homeowners overlook lighting details
Most outdoor lighting problems fall into a few predictable patterns. Recognizing them is the first step toward avoiding them on your own property.
- Overlighting: Adding more and brighter fixtures seems like an obvious solution to a dark yard. In practice, it often creates glare zones that make the surrounding darkness feel more extreme and impair natural night vision.
- Wrong color temperature: Cool white light above 4000K can feel clinical and harsh on a residential facade. It also disrupts your eyes' adaptation to darkness, making it harder to see into unlit areas.
- Uneven distribution: Patchy lighting, meaning bright spots surrounded by dark areas, is actually worse for security than consistent low-level lighting. It creates hiding spots.
- Ignoring the beam angle: A 10-degree spot beam aimed at a front door works beautifully for accent lighting but is useless for path illumination. Using the wrong beam for the job is one of the most common and least obvious mistakes.
- Poor fixture mounting height: Too high and the light washes out. Too low and it creates awkward shadows and becomes a trip hazard in some configurations.
- No plan for uniformity: Random fixture placement creates inconsistency. IES recommendations for outdoor design use illuminance measured in foot-candles and distribution targets to ensure consistency across a space, something that is hard to achieve without intentional planning.
The cost of these mistakes adds up in ways beyond aesthetics. Overlighting raises energy bills. Poor placement means motion sensors trigger constantly or not at all. Dark corners near entry points create security vulnerabilities that a well-placed fixture would eliminate.
A common statistic worth noting: homes with poor exterior lighting are considerably more attractive targets for opportunistic crime than those with well-lit entries and perimeters. Lighting is not a decorative add-on. It is a genuine security investment. The key is understanding that more light does not equal better lighting. That is precisely why selecting outdoor fixtures based on application matters as much as fixture style.
Following lighting best practices means treating each area of your property separately, identifying what each zone needs, and choosing fixtures and placement to meet those specific needs rather than applying a one-size-fits-all solution.
How to put attention to lighting detail into practice
Translating these principles into real improvements on your property does not have to be overwhelming. A methodical approach makes the process manageable and ensures nothing important gets missed.
Here is a practical reference for color temperature and its best applications:
| Color temperature | Appearance | Best use |
|---|---|---|
| 2700K | Warm amber white | Entry doors, porch fixtures, landscape uplights |
| 3000K | Soft warm white | Pathways, driveways, patios |
| 3500K | Neutral white | Garages, utility areas |
| 4000K+ | Cool white or daylight | Not recommended for residential facades |
Follow these steps to evaluate and improve your current setup:
- Map your property at night. Note every dark zone, every glare source, and every fixture that seems to serve no clear purpose.
- Identify the functional zones. Entry points, steps, paths, driveways, and perimeter edges all have different lighting needs.
- Check your color temperatures. Replace any bulbs above 3000K on your facade or entry areas with warm-white equivalents.
- Audit fixture shielding. Any fixture where you can see the bare bulb from a normal standing position is creating glare. Swap it for a shielded version or redirect it.
- Confirm uniformity. No area that a person walks through should be more than three to four times brighter than the area beside it.
- Consider a photometric plan. Professional designers use software to model how light will distribute across a space before a single fixture is installed. This is the most reliable way to avoid errors.
For functional outdoor lighting that also looks great, layering matters. You want at least two levels of light in any outdoor space: ambient light for general visibility and accent light to highlight architecture or landscaping. Good path lighting tips reinforce this idea. Path lights should supplement ambient lighting, not carry the entire load on their own.
Pro Tip: The 2700–3000K warm-white range with shielded, downward distribution is the single most reliable starting point for any residential outdoor lighting update. Get this right before worrying about anything else.
Professional designers bring tools and experience to this process that genuinely change the outcome. A photometric plan, for example, eliminates guessing and shows exactly how uniformity targets will be met across your property before you spend a dollar on installation.
Why most outdoor lighting falls short—and how you can do better
Here is an uncomfortable truth that most lighting articles avoid: the majority of outdoor lighting installations on Pittsburgh homes are not just imperfect. They are fundamentally wrong for the properties they are supposed to serve. Not because the fixtures are cheap or the homeowners do not care, but because the process that produced them skipped the most important step, which is analysis.
Generic lighting decisions, such as buying a box of path lights from a home improvement store and spacing them evenly along a walkway, feel logical. Evenly spaced lights. Simple. But they ignore everything about that specific property: the grade change midway down the walk, the overgrown shrub that blocks light to the left side, the reflective concrete that amplifies glare on rainy nights. Generic approaches cannot account for those details, so they fail to serve them.
What we see repeatedly in Pittsburgh is that small, targeted changes deliver results that dramatically outperform large-scale generic installations. Redirecting a single uplight on a brick facade can transform how the entire front elevation reads from the street. Swapping one glare-heavy entry fixture for a shielded downlight can make a front porch feel safer and more welcoming at the same time. These are not expensive interventions. They are precise ones.
The idea that lighting architectural features requires a luxury budget is simply not true. It requires attention. Most Pittsburgh homes have interesting architectural elements, including brick textures, gables, covered porches, and mature trees, that generic lighting completely ignores. A professional eye can identify which of those elements, when lit properly, will deliver the most visual impact per dollar spent.
Our honest advice: stop adding fixtures and start asking better questions. Where does light need to go and why? What is this fixture actually doing for the person walking up to the door? Is this light serving the home or just filling a space? Those questions lead to better decisions regardless of whether you are doing a small DIY update or a full professional installation.
Transform your home with detailed outdoor lighting solutions
If the details covered in this article feel like a lot to evaluate on your own, that is completely normal. Most homeowners have other priorities, and outdoor lighting is genuinely technical when done right.

At Myriad Lighting, we specialize in exactly this kind of detail-driven design for Pittsburgh homes. From our first consultation through final setup, every decision is driven by what will make your specific property safer, more attractive, and more functional after dark. Our landscape lighting services are designed to bring out the best in your yard and architecture, while our holiday lighting solutions add stunning seasonal curb appeal without the headache of DIY installation. If you are ready to see what attention to lighting detail can actually do for your home, we are ready to show you.
Frequently asked questions
What is the ideal color temperature for outdoor security lighting?
The ideal range for outdoor security lighting is 2700–3000K warm white, which improves visibility at entry points without causing glare that impairs nighttime vision.
How does uniform lighting improve outdoor safety?
Uniform lighting eliminates shadowy patches that create tripping hazards and hiding spots, and IES illuminance standards provide measurable benchmarks for achieving consistent distribution across a property.
Why is shielded lighting recommended for homes?
Shielded fixtures direct light downward toward intended surfaces, which reduces glare and preserves comfortable nighttime vision for anyone approaching or leaving the home.
Do lighting standards exist for outdoor residential spaces?
Yes, the IES lighting library provides detailed benchmarks for brightness levels, uniformity ratios, and safe light distribution that apply directly to residential outdoor environments.