
Your Pittsburgh home may have beautiful columns, a striking entryway, or a textured stone facade that turns heads during the day. But once the sun sets, those features disappear into the dark. Intentional outdoor architectural lighting changes that completely. It frames your home's best design elements, adds a layer of security, and creates a visual presence that makes your property stand out on the block. This guide walks you through every step, from identifying what to light, to choosing the right fixtures, to fine-tuning the results for a polished, professional finish.
Table of Contents
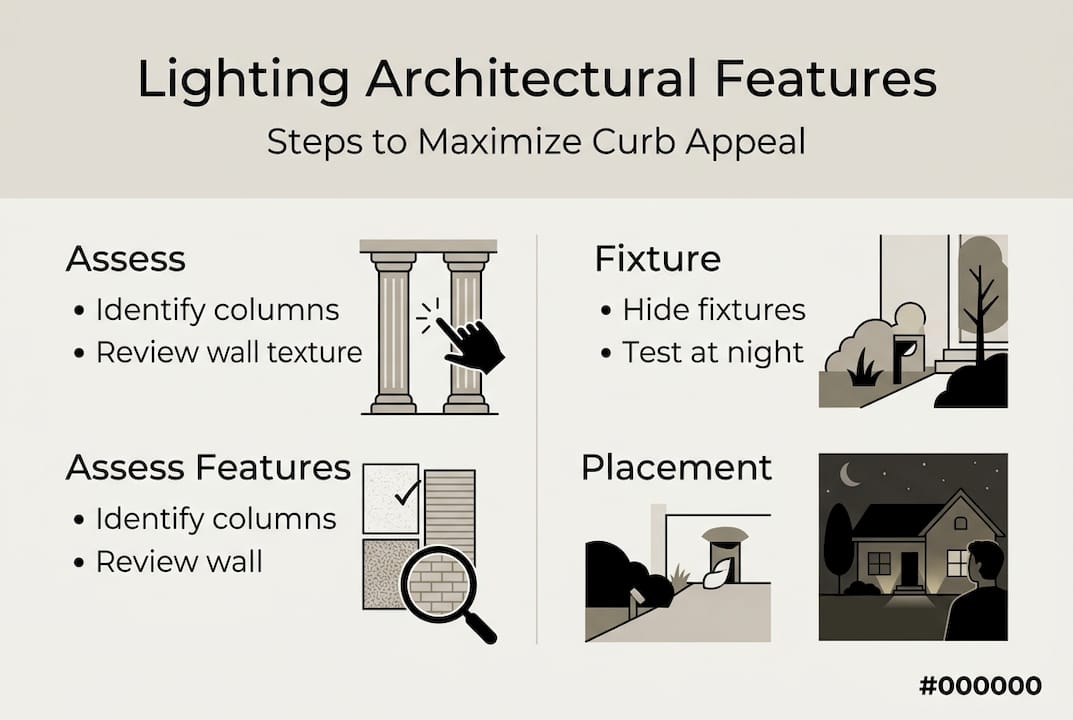
- Assessing your home's architectural features
- Selecting the right fixtures and placements
- Installing and adjusting your lighting solutions
- Verifying results and avoiding common mistakes
- Our perspective: What most homeowners overlook about architectural lighting
- Let Myriad Lighting elevate your home's features
- Frequently asked questions
Key Takeaways
| Point | Details |
|---|---|
| Feature identification | Careful assessment helps choose which architectural elements to highlight. |
| Proper fixture placement | Spacing and positioning are crucial to avoid glare and ensure dramatic effect. |
| Test lighting at night | Nighttime adjustments reveal issues before installation is finalized. |
| Avoid common mistakes | Regular review prevents glare, over-lighting, and missed focal points. |
Assessing your home's architectural features
Before you buy a single fixture, take a walk around your property after dark. You'll quickly notice which design elements vanish at night and which ones might benefit from a well-placed light. This is where the planning process starts, and it's the most important step most homeowners skip.
Architectural features worth lighting include:
- Columns and pillars near entryways or porches
- Facades and exterior walls with interesting texture or material
- Eaves and rooflines that define the home's silhouette
- Entryways and front doors that serve as focal points
- Walkways and steps that need both beauty and safety
- Gables and dormers that add character to the roofline
- Archways and pergolas that frame outdoor living spaces
Each of these elements responds differently to light. A rough stone wall looks dramatic when an uplight grazes across its surface, pulling out every shadow and texture. A smooth painted column benefits from a clean, even wash of light rather than a harsh spot. Highlighting a variety of architectural features can alter mood and improve nighttime visibility across your entire property.
Thinking about how you want to illuminate building exteriors before purchasing fixtures saves you time and money. It also helps you communicate your vision to a lighting professional if you decide to bring one in.
Here's a simple assessment table to help you map out your home's features:
| Feature | Possible lighting technique | Lighting objective |
|---|---|---|
| Columns | Uplight or wall wash | Create drama, define structure |
| Stone facade | Grazing light | Show texture, add depth |
| Entryway | Downlight or spotlight | Safety, focal point |
| Walkways | Path lights | Navigation, elegance |
| Eaves/roofline | Linear strip or uplight | Define silhouette |
| Archways | Spotlights or accent lights | Frame views, add warmth |
If you're also planning pool lighting renovation tips as part of a larger outdoor project, this same assessment process applies to water features and surrounding hardscape. Mapping everything together before you start gives you a cohesive plan rather than a patchwork of fixtures.
Selecting the right fixtures and placements
Once you've mapped out your features, selecting the right fixtures is key to achieving professional results. The wrong fixture in the wrong spot doesn't just look bad. It can create glare, wash out detail, or make your home look like a parking lot.
Here are the four main fixture types used in architectural lighting:
- Uplights cast light upward from ground level, ideal for columns, trees, and facades
- Spotlights focus a narrow beam on a specific element like a sculpture or front door
- Wall washers spread a wide, even beam across a flat surface for a soft, clean look
- Path lights line walkways and steps, providing both safety and visual rhythm
| Fixture type | Best use | Placement rule | Pros | Cons |
|---|---|---|---|---|
| Uplight | Columns, facades, trees | 12-24 inches from surface | Dramatic, versatile | Can cause glare if angled wrong |
| Spotlight | Focal points, art, doors | Aimed precisely at target | High impact | Harsh if overused |
| Wall washer | Flat walls, garage doors | Mounted high or low, angled out | Soft, even coverage | Less drama |
| Path light | Walkways, steps, borders | Staggered, 6-8 feet apart | Safe, elegant | Limited range |
Uplights should sit 12-24 inches from the wall, with path lights spaced 6-8 feet apart in a staggered pattern for optimal effect and safety. These aren't arbitrary numbers. They're based on how light spreads and overlaps at typical residential scales.
Placement matters just as much as fixture type. A common mistake is mounting fixtures where the light source is visible from the street or from inside the house. You want people to see the effect of the light, not the fixture itself. Tuck uplights into landscaping, angle spotlights so the bulb stays out of the sightline, and use shrubs or ground cover to conceal path light bases where possible.

Avoiding outdoor lighting mistakes at this stage saves you from having to redo work later. Most errors come from rushing the placement decision before testing.
Pro Tip: Before finalizing any fixture position, test the placement at night using a portable work light or flashlight. Hold it at the planned fixture height and angle, then step back to the street. This quick check reveals glare issues and coverage gaps before you commit to permanent installation.
Installing and adjusting your lighting solutions
With your fixtures chosen and placement planned, it's time to get hands-on. Installation doesn't have to be intimidating, but it does require care, especially when electricity is involved.
Follow these steps for a safe and effective installation:
- Turn off power at the breaker before touching any existing wiring or junction boxes.
- Prepare the area by clearing landscaping and marking fixture locations with stakes or flags.
- Lay out low-voltage cable along planned routes before trenching or staking to confirm lengths.
- Mount fixtures at tested positions, securing them firmly to avoid shifting over time.
- Connect wiring according to the manufacturer's instructions, using waterproof connectors rated for outdoor use.
- Aim each fixture at its intended target, using the tilt and rotation adjustments built into the mount.
- Restore power and do an initial test in daylight to confirm all fixtures are working.
- Return at night to fine-tune angles, brightness, and coverage for the final look.
Always test at night. Lighting can look entirely different than expected once the sun goes down and ambient light disappears.
Test fixture positioning at night and adjust to prevent glare from eyes and windows. What looks perfect in your driveway at 7pm may create a blinding spot from the living room window at 9pm. Night testing is not optional.
For hardscape and landscape lighting that integrates with your architectural plan, the same wiring and aiming principles apply. Consistency in how you handle each zone makes the whole property feel intentional.
Pro Tip: Run wiring through flexible conduit and bury it at least 6 inches deep along beds and walkways. This protects cables from lawn equipment and makes future adjustments far easier. Visible wiring is the fastest way to make a professional installation look amateur.
If you want to understand how quality outdoor lighting affects Pittsburgh homes long-term, the investment in proper installation pays off in both aesthetics and durability.
Verifying results and avoiding common mistakes
Installation isn't the end. Effective lighting means regular review and corrections, especially after the first season when soil settles and plants grow.
Use this checklist when reviewing your lighting at night:
- Stand at the street and evaluate the overall impression. Does the home look balanced or lopsided?
- Walk the perimeter and check for harsh shadows that cut across features awkwardly.
- Look from inside the home through windows to identify any glare sources.
- Check walkways and steps for even coverage with no dark gaps between path lights.
- Confirm that no fixture is directly visible from normal viewing angles.
Common mistakes homeowners make with architectural lighting include:
- Over-lighting: More fixtures don't mean better results. Too much light flattens texture and looks commercial.
- Ignoring shadows: Shadows are part of the design. A completely lit facade loses all depth.
- Mismatched color temperatures: Mixing warm and cool bulbs on the same facade looks chaotic. Stick to one color temperature throughout.
- Skipping seasonal checks: Plants grow, fixtures shift, and bulbs dim. A spring and fall review keeps everything dialed in.
Testing at night is crucial for catching glare and uneven illumination that daytime checks simply can't reveal. Make it a habit every time you add or move a fixture.
Statistic callout: Optimal path light spacing is 6-8 feet in a staggered pattern. Tighter spacing creates a runway effect, while wider spacing leaves dangerous dark gaps on steps and turns.
For more on what to avoid, the guide on outdoor lighting mistakes covers the most common errors in detail. If you want to explore the full creative side of what's possible, nightscape lighting tips goes deeper into design philosophy and layering techniques. You can also review the full lighting placement best practices resource for technical reference.
Our perspective: What most homeowners overlook about architectural lighting
Most guides focus on brightness and coverage. We think that's the wrong starting point. The homes that genuinely stop people in their tracks at night are not the ones with the most light. They're the ones where light and shadow work together.
The building exteriors lighting guide touches on this, but here's the harder truth: restraint is a skill. It's easy to add more fixtures. It takes real design judgment to stop adding them.
The most memorable Pittsburgh homes we've worked on often have a "barely lit" quality. A single uplight grazing a stone column. One warm spotlight on a front door. Path lights that whisper rather than shout. That subtlety creates curiosity and elegance. Flooding every surface with light just makes a home look like a car dealership.
Layering is the real technique here. You want a base layer of soft ambient light, a mid layer of feature lighting on your key architectural elements, and a top layer of accent lighting for focal points. Each layer does a different job. Together, they create depth and drama that flat, uniform lighting never achieves. Less, done thoughtfully, always wins.
Let Myriad Lighting elevate your home's features
Ready to take your architectural lighting from DIY to show-stopping? Myriad Lighting brings professional design expertise and quality fixtures to Pittsburgh homeowners who want results that actually match their vision.

We handle everything from the initial walkthrough to the final night-time adjustment, with hidden wiring, minimal disruption, and a finished look that makes your home's best features shine. Our hardscape and landscape solutions integrate seamlessly with architectural lighting for a property that looks cohesive from every angle. Whether you're starting fresh or refining an existing setup, we'd love to show you what's possible. Request a lighting quote and let's build something you'll be proud of every night.
Frequently asked questions
What type of fixtures work best for lighting columns or entryways?
Uplights placed 12-24 inches from columns or entry features create dramatic emphasis while avoiding harsh spots or glare. They're the most versatile choice for structural architectural elements.
How do I avoid glare in my architectural lighting design?
Test at night for glare from eyes and windows, adjust angles away from direct views, and stagger path lights 6-8 feet apart to minimize glare across sight lines.
Should fixtures be visible or hidden in landscaping?
Fixtures are best hidden to reveal only the effect of the light, not the source, for a more elegant and professional result.
How do I know if my lighting layout needs adjustment?
If you notice harsh shadows, uneven brightness, or glare at night, adjust fixture positions and angles. A balanced effect at night is the clearest sign your layout is working correctly.
Recommended
- How to illuminate building exteriors for stunning curb appeal
- Hardscape/Landscape | Transform Your Outdoors Today — Myriad Lighting
- Avoid These Outdoor Lighting Mistakes for a Safer Home
- How quality outdoor lighting enhances Pittsburgh homes
- How to install outdoor lighting for curb appeal in Calgary